Building a custom shelving unit can elevate any space while providing much-needed storage. With the right materials and a clear plan, anyone can create a functional and stylish shelving unit without breaking the bank. This project offers an opportunity to express personal style while being resourceful with budgeting.
Finding affordable materials is crucial for a budget-friendly build. Local hardware stores, online marketplaces, and reclaimed wood can offer excellent options at lower prices. Utilizing these resources allows for creativity and uniqueness in the design.
In this article, readers will discover step-by-step instructions, tips for sourcing materials, and design ideas that cater to various tastes and needs. Engaging in this DIY project will not only enhance their living space but also provide a sense of accomplishment.
Planning Your Custom Shelving Unit
A successful custom shelving unit requires careful planning. Accurate measurements, material selection, and a clear design vision are essential components for any DIY project.
Measuring Floor Space
Begin by assessing the room where the shelving unit will be installed. Use a tape measure to determine the dimensions of the designated area. Consider these measurements:
- Height: Measure from the floor to the ceiling or any obstacles like windows or vents.
- Width: Measure across the wall space to find how much horizontal space is available.
- Depth: Evaluate how far the shelving unit can protrude without impeding movement.
Create a simple sketch of the area to visualize placement. Take note of any furniture that may affect the design. Planning for ample clearance around the unit will enhance both functionality and aesthetics.
Choosing Materials on a Budget
Selecting materials can significantly impact the project’s overall cost. Opt for affordable options that meet your style and durability needs. Here are some common materials to consider:
- Plywood: Offers strength at a low cost. It is versatile and easy to work with.
- MDF: Medium Density Fiberboard is less expensive but may not hold up as well under heavy loads.
- Reclaimed Wood: An eco-friendly option that adds character. Prices vary based on availability.
When sourcing materials, consider local hardware stores and online marketplaces for deals. Don’t forget to factor in additional supplies such as brackets, screws, and tools needed for assembly.
Designing for Both Functionality and Style
An effective design balances usability with visual appeal. Think through the following elements in your design:
- Shelf Height: Ensure shelves are adaptable for various items, from books to décor. Adjustable shelves can add flexibility.
- Spacing: Plan for enough space between shelves to accommodate larger items if needed.
- Aesthetic Details: Incorporate personal style through paint, finishes, or decorative hardware.
Sketch multiple designs and choose one that fits the space and meets functional requirements. Composition and symmetry will help create a cohesive look, enhancing the overall space.
Sourcing Materials and Tools
Finding the right materials and tools is essential for building a custom shelving unit on a budget. Utilizing stock cabinets and selecting the appropriate screws and fasteners can significantly impact both cost and functionality.
Using Stock Cabinets for Affordable Solutions
Stock cabinets serve as a cost-effective alternative for building shelving units. They are widely available at home improvement stores and often come in a variety of sizes.
These cabinets can be combined and modified to suit specific needs. For instance, one can:
- Combine cabinets to create larger units.
- Paint or stain them to fit personal design styles.
Using stock cabinets reduces preparation time, as they already come pre-finished. This solution minimizes DIY work while maximizing storage space and appearance.
Additionally, they can often be found on sale or through clearance sections, further reducing costs.
Selecting the Right Screws and Fasteners
Choosing the right screws and fasteners is crucial for the durability of the shelving unit. The type of screws will depend on the materials used. For instance:
- Use wood screws for attaching wooden parts.
- Consider drywall screws if mounting to a wall.
It is essential to ensure that the screws are long enough to provide a secure hold but not so long that they protrude through the other side.
A variety pack of screws can be a practical purchase, providing options for different applications. Alternatively, high-quality fasteners like Staainless Metric Button Socket Screws can provide a strong and reliable hold for such DIY projects.
Additionally, using brackets and anchors can enhance stability, especially in heavier units. Being selective and paying attention to the types of screws used can greatly influence the integrity of the finished shelving unit.
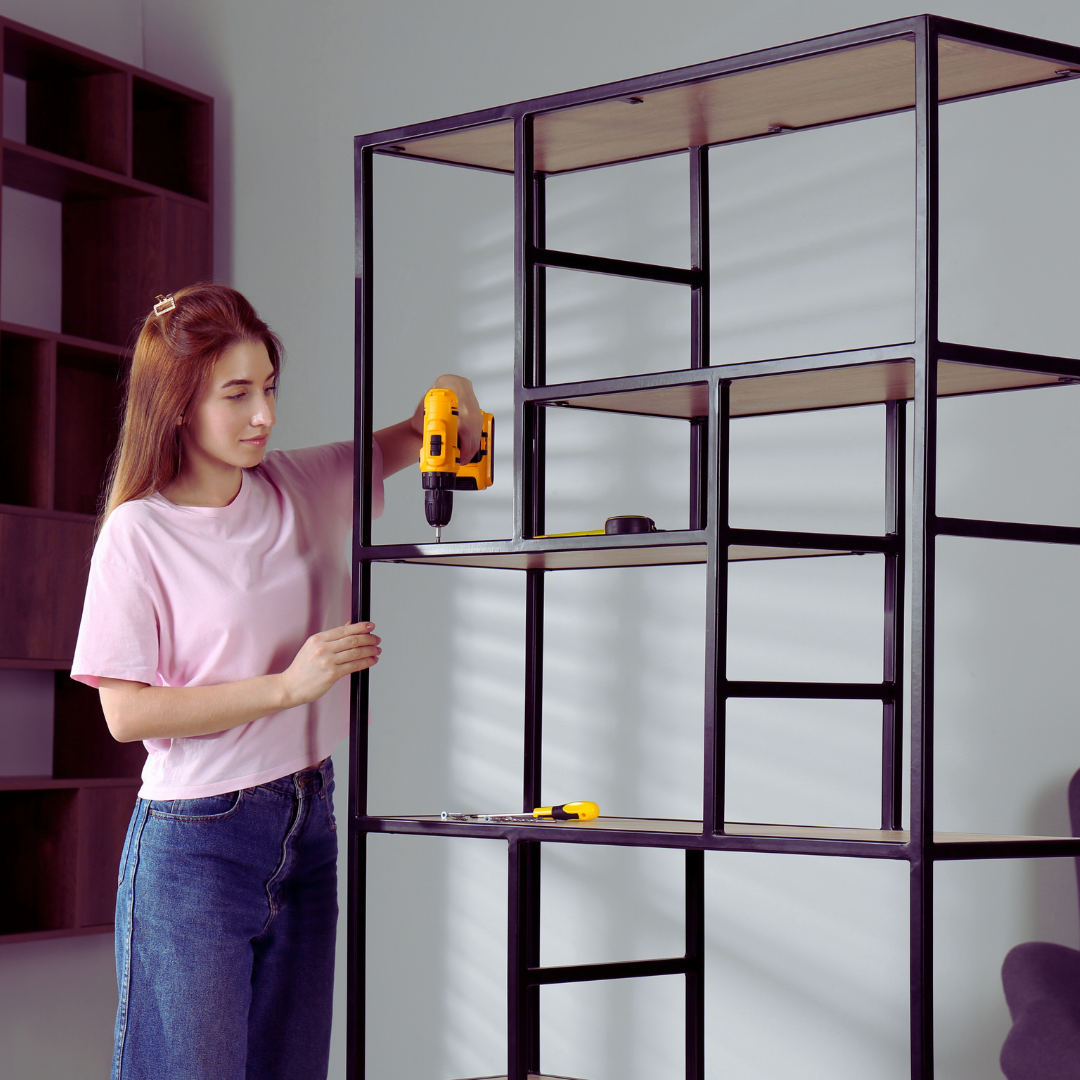
Building Your Shelving Unit
Creating a custom shelving unit requires proper planning and execution. Each component must be carefully cut and assembled to ensure stability and functionality.
Cutting and Assembling Components
Begin by measuring the space where the shelving unit will be installed. Use a tape measure and a level to ensure accuracy. Choose the type of wood or material based on budget and aesthetic preferences.
Material options include:
- Plywood: Affordable and versatile.
- MDF: Smooth surface, great for painting.
- Solid wood: More expensive but durable.
Cut the wood panels to the desired dimensions, ensuring all pieces are square. Use a circular saw for straight cuts and a miter saw for angled cuts. After cutting the components, assemble them using wood screws. Pre-drill holes to prevent the wood from splitting. Tighten screws securely to create a sturdy framework for the shelves.
Securing Shelves for Stability
Once the mainframe is assembled, it’s time to install the shelves. Determine the height of each shelf based on the items it will hold. For additional stability, use adjustable shelf brackets. These allow for flexibility in shelf placement.
Installation steps include:
- Mark the positions for the brackets on the sides of the unit.
- Use a level to ensure the brackets are even.
- Secure brackets using screws, ensuring they are tightly fastened.
For larger shelves, consider adding a support beam across the back. This can help prevent sagging under weight. Sufficiently secure all components to guarantee durability and safety.
Finishing Touches and Budget-Friendly Upgrades
Adding finishing touches and upgrades can elevate a custom shelving unit while remaining budget-friendly. This involves selecting the right paint or stain and incorporating accessories that enhance functionality and style.
Painting or Staining for a Custom Look
Choosing the right paint or stain can completely transform a shelving unit. For a professional finish, it is advisable to use primer before applying the paint or stain. This ensures an even coat and better adhesion.
- Acrylic Paint: Ideal for vibrant colors and easy clean-up.
- Water-based Stains: Suitable for highlighting wood grain without overpowering it.
To achieve a desired aesthetic, consider using techniques like distressing for a vintage feel or ombre for a modern touch. Small adjustments like hardware can also add a unique flair. Since DIY stores often offer sample sizes, those can be a budget-friendly option for experimentation.
Adding Accessories and Storage Features
Incorporating functional accessories can enhance a shelving unit’s usability while keeping costs down. Storage solutions can be both affordable and stylish.
- Baskets or Bins: Great for organizing smaller items and adding texture.
- Hooks: Useful for hanging frequently used items, maximizing vertical space.
Consider using modular components that can easily adapt or expand as needs change. Creative solutions, such as a DIY corkboard mounted on the side or integrated lighting, can also make the shelving unit more versatile. By focusing on practical accessories, the shelving unit can become a customized solution tailored to specific needs.